Tuesday 25 February 2014

Flame of Undun

So on Monday of this week we decided to play the Balin's Tomb scenario for Games Workshop's Lord of the Rings game.

The kids had helped me to make and paint the terrain for this and I was quite keen to have a bash.


The scenario is pretty simple. During the Fellowships trek through Moria in an attempt to avoid Saruman at the gap of Rohan they stumble across the lost tomb of Balin, and are attacked by the denizens of Moria.  This consisted mostly of goblins and orcs, with one cave troll.

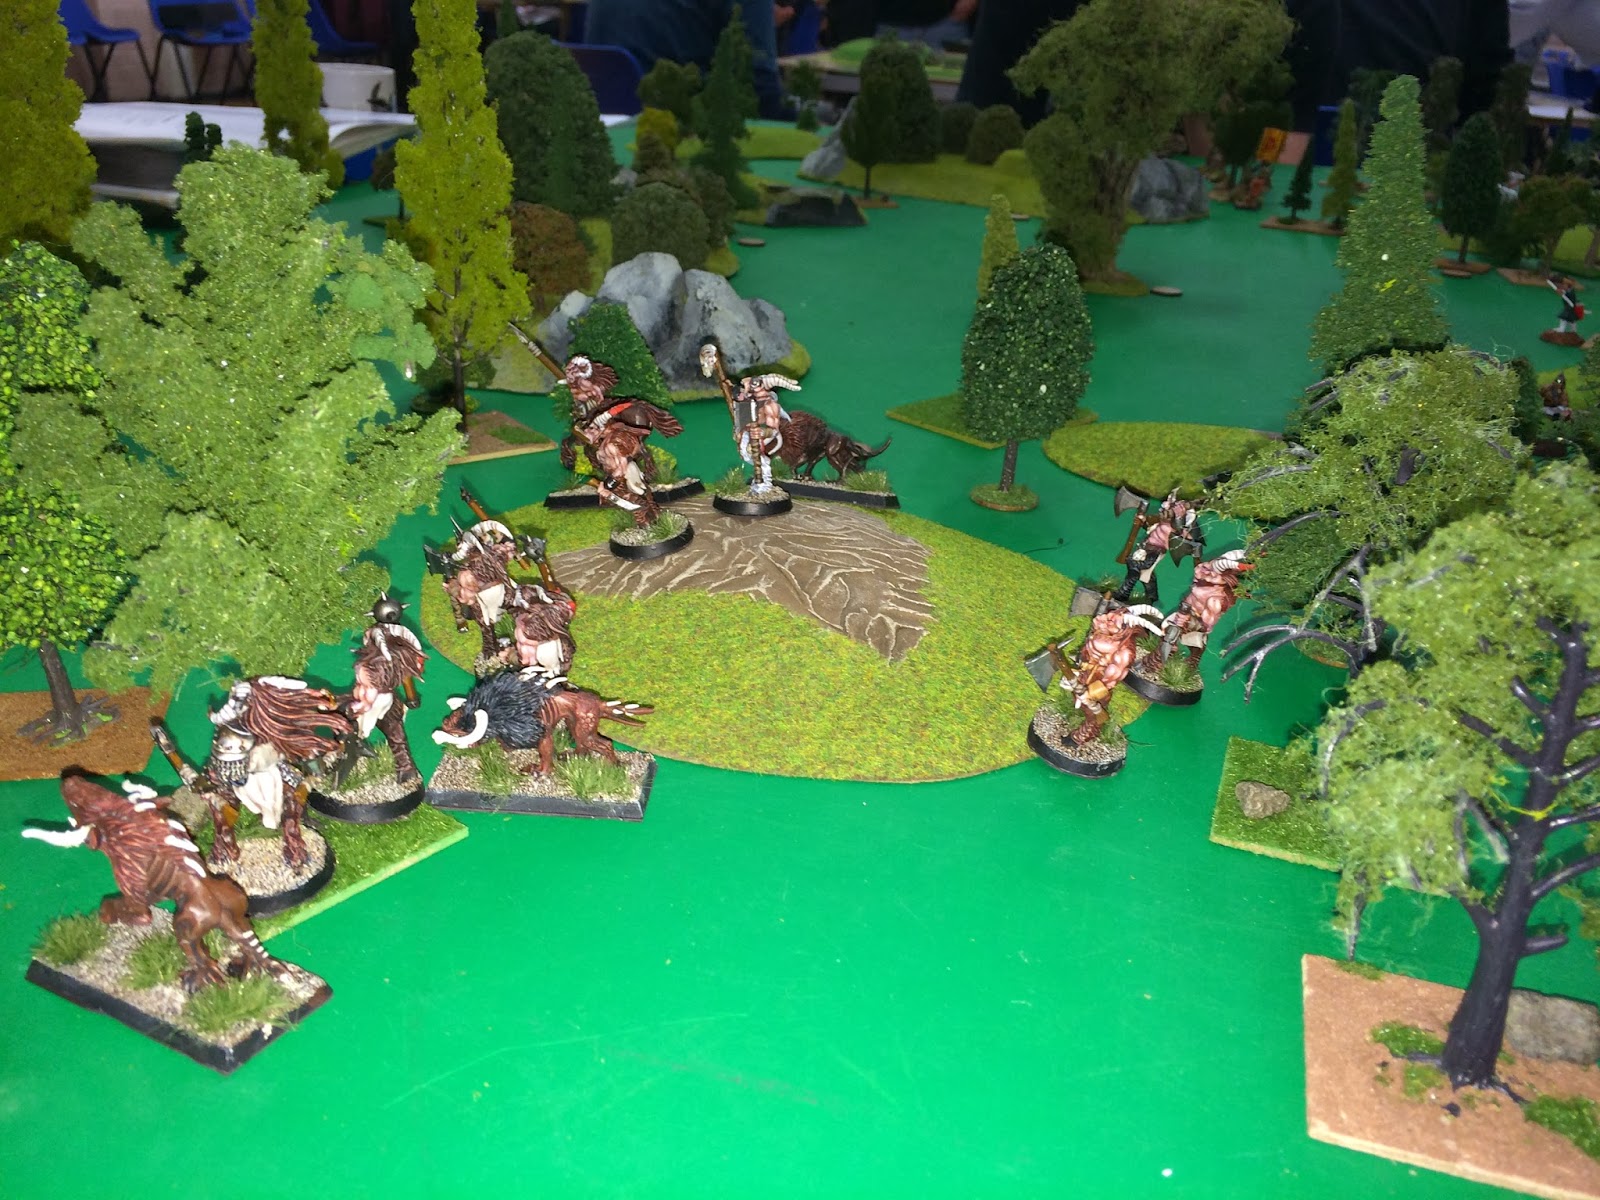
For the purposes of this the Fellowship deploy in the tomb, and every turn you can bring on as many goblins as you can fit through the door. The game lasts for ten turns and to win 5 members of the Fellowship have to survive, including Frodo. Anything less than that or if Frodo died was a win for the residents of Moria.

At the start of the game Ian did the sensible thing and took his three hardest heroes and rushed the door, trying to block it off. Kenny got one moves worth of goblins through the door before it was shut down by three of Middle Earth's greatest heroes.


The Heroes bar the door.

Not many Goblins on the board now.


A few goblins survived this be basically no more goblins managed to get through the door, as Strider, Boromir and Gimli barred the door.  The few goblins that made it into the room tried their best but the best they could manage before they were mopped up by Gandalf and Legolas was to kill Samwise.

We reset and started again, this time using a different version of the scenario. In this version the fellowship had to kill Frodo, with the game ending when the cave Troll is killed. the cave Troll came on in turn 4, and was promptly killed a turn later by Strider, thus ending the game. 

It was still early so we decided to have a bash at Kazad Dum as well, with Ian still playing the Fellowship and myself as the forces of darkness.  I did not have anything to represent the actual chasm itself so we just used the ends of the bridge to represent its edges.

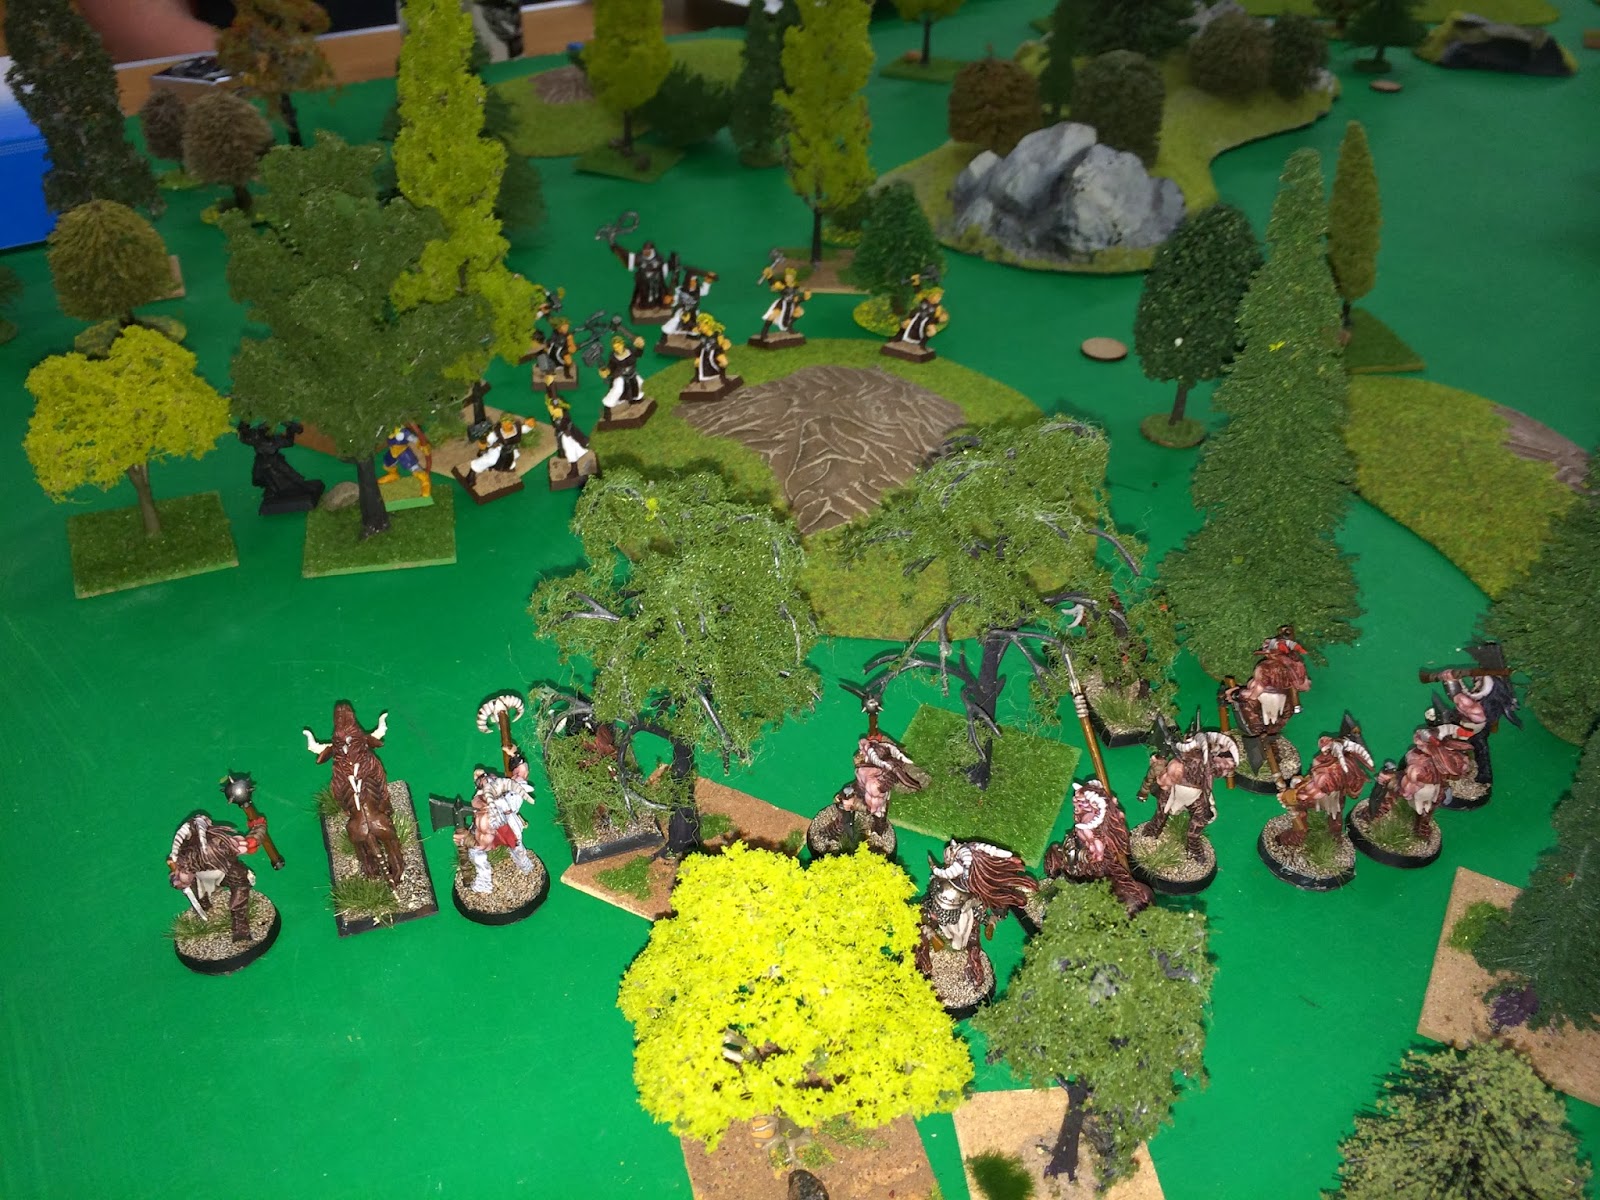
This scenario is pretty similar to the film, with the Fellowship making a break fro the bridge, pursued by goblins and the Balrog himself.  This game was a bit closer than the last two as all the goblins started on board at the start of the game.  As Ian rushed for the bridge I mobbed him with goblins and even managed to kill Sam, Merry and Pippin.  I managed to stall him badly just before the bridge and then mobbed Legolas and managed to bring him down over a few turns. Even better was the arrival of the Balrog on turn three, really putting the pressure on Ian.

Mr Balrog closes in on the action.

Too many goblins!

Frodo makes a break for it.
Frodo managed to get across the bridge but the rest of the Fellowship stalled slightly, causing a bit of a log jam. I took advantage of this and did my best to hold up enough of the good heroes to prevent Gandalf blowing the bridge before the Balrog managed to get into the thick of things.

Nearly there!

Too late. Gandalf is toast.
In the end it came down to Gandalf trying to blow the bridge before the Balrog managed to get him in close combat, with even Gimli using up all of his store or might to fight the Balrog of for a few turns. It was not to be though and in the last turn Gandalf only had to roll a 5 or more to destroy the bridge. Unfortunately he did not manage it and was slain in the darkness of Moria, sealing the fate of Middle Earth.


An entertaining evening of gaming and the first time I have actually put the Fellowship on the table. The main thing we learnt tonight was that Strider is hard as nails. In the first go at Balin's Tomb he killed everything he came up against without breaking a sweat.  It was a nice change from our usual Lord of the Rings style gaming and I will certainly be looking at doing a lot more Fellowship scenarios in the future.

Thursday 20 February 2014

Defend the Line

2000 Page Views.  Hooray!

Thanks very much to the seven or so people that must visit my blog on a regular basis.


On Monday we had another game of Chain of Command. I am rather taken with these and have even started painting an early war German force. There is even some talk within the club of a campaign.

This game was German vs French, with the French on the attack. Their objective was to get one section into contact with the German board edge before the end of the game, with anything else being a German victory.

The patrol phase went quite well, with myself and Dave getting the upper hand and pushing the French pretty far down the table, meaning that they would have a Long march to get across our positions.  For support we selected an adjutant so we could bring on all our commanders nice and early and a couple of minefields to help funnel the French into out fields of fire.

The French brought a Heavy Machine Gun and an off table 81cm mortar.

We started the game quite well, with some early casualties on the French we managed to get them boxed in with some nice open terrain between the two forces. Perfect for the superior German machine guns.  


Things started to go pear shaped in the later stages of the game.  The French managed to bring down a mortar barrage on one of our defencive positions, effectively neutralising it.  The only way we could manage to stop them was to use a Chain of Command die and end the turn, but unfortunately Marco and Allen had a Chain of Command die of their own, which they would be able to use to maintain the barrage.


We had managed to deploy to Machine Gun section quite far forward on our left flank, and they were covering a very nice field of fire and  preventing any French from advancing down that side of the table. Dave decided to order one of the Machine Gun teams to advance and secure the hedge in front of it, further preventing the French form any meaningful movement. Unfortunately at the point Marco used a Chain of Command die and ambushed the advancing German Machine Gun team as they were crossing open ground, wiping them out.   

Things were starting to look a bit ropy, as we had no way of stopping the Mortar Barrage that was pinning down half of our troops, and the French were in danger of just wandering right past our lines!  Luckily time was on our side and we had to stop the game before the French had a chance to complete their objective, although I am in doubt that given another 2 hours of game time they would have suceded.   Perhaps they should have been a bit bolder in the early stages of the game, rather than just waiting for the mortars to do their work for them.  

Another good Chain of Command experience, although I am going to have to give some serious thought about how to deal with a Mortar Barrage, as they seem to be very devastating. Perhaps a sniper team or two may do the job. I am still in the process of painting my Germans so have plenty of time to make a decision about what to do. 
The more I understand these rules the better I feel about them, although the Chain of Command dice can be merciless. At one point late in the game Marco and Allan managed to retain the initiative twice, and all we could do was watch as they took full advantage the situation.   I still had a great time though.

Next week Lord of the Rings, using the Balin's Tomb terrain I made and painted with the kids. In 10 years of Lord of the Rings gaming I have never actually used the Fellowship so I am looking forward to it!

Tuesday 11 February 2014

They're Taking the Hobbits to Isengard!

I had no game arranged for Monday night this week, so was just going to wander along to the club and see what was going on.  On Sunday night Dave put a post on the forum asking if there was anything going on that he could join.  A few posts later and we had decided to have a game of GW's excellent  Lord of the Rings skirmish game.

I basically brought everything along and let Dave pick the scenario.  He opted for the wrath of Rohan, and we tossed a coin for sides. In the end he opted for the Rohan and ended up as the forces of Isengard.

The scenario itself is fairly straight forward.  Eomer and his band of riders have cornered the Uruks and Orcs at the edge of Fangorn Forest with the intent of destroying them. Unknown to Eomer these are the same group of Orcs who have recently abducted Merry and Pippin at Amon Hen, and also killed Boromir.  

For the good player to win he had to completely destroy the evil forces, while the two hobbits had to escape of the board edge that represented Fangorn before the last orc fell.  For the forces of evil to win they had to kill three quarters if the Rohan forces and be in control of the hobbits at the end of the game.  If either side only accomplished one of these objectives then the game would be considered a draw.

At the start of the game the Rohan decided to approach slowly and make use of the large amount of bows that were present in their force. the forces of evil decided to try and take advantage of the split forces and advanced quickly on one half of the Rohan forces, while slowly backing away from the other.

Rohan advance on the left.

Rohan advance on the right.


This tactic worked quite well, as I managed to get the drop on the Rohan and took the sting out of their charge. Unfortunately they still proved to be strong fighters and it took me a lot longer than I had hoped to gain the upper hand on that side of the battle.  While this was going on Dave had finally charged in on the other side and started doing some terrible damage to my forces.  In mid game the hobbits made a break for freedom as well, hotly pursued by Grishnakh.

The right flank.

The left flank at the height of the action.


The Hobbits make a run for Fangorn.


By the time I had secured the western side of the board things on the opposite side were starting to look a little ropey. Grishnakh was trampled into the earth by a trio of Rohan while he was chasing after the hobbits and at one point in the game we were both one model away from passing out force break point.

Both of our forces passed break point on the same turn, with around 13 orcs fleeing the field as a result, although a fair few riders of Rohan decided to leave as well.  By this point of the game I was now fighting for a draw, as the hobbits were firmly out of reach.

Eventually all the morale checks took their toll and even Eomer fled the field.  It came down to six orcs against four Rohan cavalry, with the hobbits two moves from escaping the board.  Dave could have held off fr a while and shot at the orcs, allowing the hobbits time to escape, but that would risk losing more men to failed morale checks, so he opted to get stuck in and hope for the best.  In the final turn of the game there was one solitary orc left on the field, with four rohan left and only Merry still trying to escape into the forest. Win or draw came down to whether or not the orc failed his moral check.  If he failed it then he would flee the field, ending the game and denying Merry one last move that would have allowed Dave to win the game.  In the end he failed and fled the field. This ended the game and meant that both of us had only completed one of our  victory conditions, resulting in a very close draw.

Eomer has a go at Grishnakh.

Grishnakh has a bad day.

Four riders of Rohan (Eomer has ran off to get reinforcements, honest!).

So close!
Another excellent game of Lotr, and very close to boot.  

Every wargamer I know has one period that they cannot leave alone. For some it is WW2, or Napoleonic.  For me it is Middle Earth. While I may approach and finish a project and then pretty much never add anything else to it (My Impetus Romans, Urban War forces and all my WHFB armies fall into this category), I always keep returning to middle earth and adding to my collection.  I usually add at least a dozen painted models every year, although usually more.

I have a feeling that Games Workshop will probably ditch the LOTR licence in a few years, when it no longer becomes worth the effort and in line with their current policy of entrenchment in known best sellers and ditching everything else, so I am trying to get my hands on all the Middle Earth specific models that I could pretty much only get from them.  I have a good proportion of them already, but would like to include:

A couple of Mumakil (scouring eBay for them is becoming a hobby in itself!)
The witch King on Fell Beast
A couple more Trolls of various types
A couple boxes of Eagles (the only Hobbit miniatures I am likely to get)
A decent force of Haradrim Cavalry, with a few infantry to support them.
The Mouth of Sauron.

I have hundreds of Orcs already and am not very keen on the Warriors of Minas Tirith so would happily use some other manufacturers models for them, but the list above are all excellent models and pretty unique to Games Workshop.

Tuesday 4 February 2014

2 against 1

Game 7 of our Mordheim campaign came around.

The title of this one was "The Hanging Tree" and it was basically a fight to the last, over some wooded terrain.  We had all the usual suspects, which were:

My Beastmen
Rory's Kislevites
Ian's Reiklanders
Andy's Sisters of Sigmar
Dave's Marienburgers

After the last game I was determined to at least get involved in a good old scrap, and as long as that happened I would be pretty happy, whatever the result.  Once again we used the random deployment and ended up in one corner, sandwiched between the Sisters and the Kislevites.

By this time in the campaign the Sister's had grown to 14 models and The Kislevites had hired an Ogre Bodyguard. 

Initial Setup

My Beastmen hiding in the corner.
Early game and my Centigor behaved as I made some cautious moves towards the Sisters in the next corner, while the Marienburgers and the Reiklanders started to take pot shots at each other.  In the centre of the board the Kislevites made a straight line for my Beastmen and I realised that unless I did something pretty drastic I would end up fighting two warbands at once, which is not an ideal situation.

Kislevites start to creep up on my corner of the woods.

Sisters and Beastmen square off.
I decided to get stuck in to Andy's Sisters as soon as possible and he obligingly lined his warband up in just within charge range.  In my turn I got stuck in and managed to inflict enough casualties in a single round of combat to take him over his break point. In his turn he failed his rout test and fled the field.  One down.

The Beastmen take a very short breather after seeing of the Sisters.


On the other side of the board the Marienburgers and the Reiklanders got stuck into each other, with Ian eventually coming out the victor when Dave decided that his casualties were too heavy and quite the field. 

The Beastmen and the Kislevites engaged each other in a piecemeal fashion, with the vanguard of the Kislevites getting the drop on their hairy opponents.  The beastmen swamped the vanguard and then sent some troops out to intercept the rest of the Reiklanders and everything was looking good for the Beastmen.

The two warbands traded blows and both started to suffer some casualties, with both sides reaching their break points.  In the end it was the Beastmen who failed the rout test first, despite having a reroll and quite the field.  Rory decided that he had taken too much of a mauling and also quite the field, leaving Ian and his Reiklanders victorious.


All in all a good game, although I did feel slightly ganged up on. I did manage to get the good scrap I was hoping for and generally came out of the game quite well. One Warhound was killed and one of my Heroes lost all his kit.  Losing all their gear is becoming a bit of a habit for my warband.

I noticed a few things in tonight's game:

Despite a 50/50 chance of getting his spells off, my Shaman failed every attempt, which ultimately led to his demise.   This is a running theme in this campaign.

All of my warband have helmets to help protect them from getting stunned but when I am in combat it is usually a case of my opponent either misses completely or puts their opponent out of action, with nothing in between.  

I fluffed all my attacks at a crucial part of the game, just when I had Rory on the ropes. This is becoming a bit of a theme for me as a similar thing keeps happening in Impetus.  Or perhaps it is just these moments that stick in the head.  It definitely seemed as if I was in a perfect position to do some damage and had a round or very poor dice rolling.  That is the nature of wargaming though, nothing is ever certain.

I have pretty much run out of things to buy. There is not much equipment and I am unable to get any Hired Swords, so am ending up hoarding all my cash  to replace any losses.

All in all an excellent game, and I got the scrap I wanted.  Three more games of this campaign left to run and I will be sad to see it come to an end.